Everyday Tips and Tricks for Pastel

Think Outside the Toolbox: Laura Pollak shares 11 tips for using everyday, around-the-house items as aids in your art-making to achieve extraordinary results.
Whether you’re painting a representational landscape or a colorful abstract, there are items you most likely already have on hand that can be used to create unique mark-making, textures and other special effects. Here, I’ll share tips for getting the most out of some of my favorite tools.
Originally published in Pastel Journal, Summer 2023.
In this video, Scott Maier tests three of these tips and tricks, and some of the results were exciting!
Tool #1: Your Pinky Finger
The perfect mark-making tool might just be at your fingertips. In fact, your pinky finger can be one of your most versatile tools. The tip of the nail works perfectly for removing an unwanted mark in a tight space or achieving the perfect blend. Though the pad of the pinky can also come in useful, the tip is more precise. You can use the back of your fingernail for mark-making as well.

Tool #2: Slice of White Bread
If you have an area of a painting that you haven’t yet washed down and you want to remove pastel, ball up some fresh white bread and use it like a kneaded eraser. It will lift a good deal of pigment off the paper and will not only bring back some tooth but also the original paper color.

Tool #3: Cake Decorating Tools
Explore the cake-decorating section at your local craft store, where you can find a variety of wonderful implements. Try experimenting with these on your paintings to create an array of unique textures.

Tool #4: Craft Scissors
Go ahead and raid your children’s (or your grandchildren’s) craft box! There you might just find exactly what you need to create lively deckled edges. Craft scissors are inexpensive yet strong enough to cut through most pastel papers.

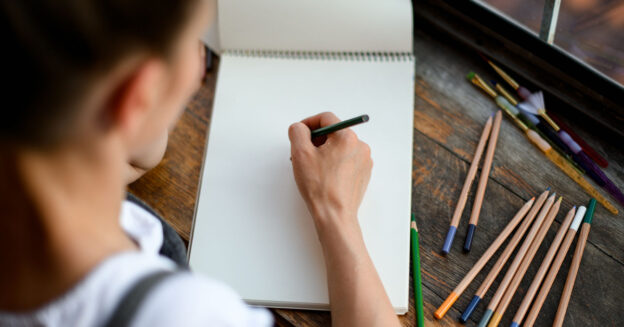
Tool #5: Digital Tablet
I carry my digital tablet with me everywhere and use it for countless functions. I can sketch a design for a new painting, check a color in a scene that I can’t determine, take a photo of what’s on my easel and import it to make corrections—all without ever touching a pastel. I have an iPad, so my go-to app for most of those functions is Procreate. (Canva is the Android equivalent.) This single tool has totally changed my process for bringing a painting to completion. There are also lots of cool, and free, filter apps that will alter the colors of photos so you can experiment with different color palettes.

Tool #6: 3D Pen
I’m enthralled with the myriad possibilities that 3D pens provide. We’re all aware of the wonder that is the 3D printer, but 3D pens are easily accessible and relatively inexpensive—not to mention versatile. This tool was instrumental in creating the effects seen in the pieces below. Using a 3D pen, I wrapped filaments around pieces of red-tinted UART paper to create texture and cast shadows in Mardi Gras (pastel on paper, 20×16).
To create the lines in Quarantined (pastel on paper, 20×16), I used a 3D pen to extrude filaments, pulling them across the top of the composition and adhering them to the back of the painting. The lines subsequently cast shadows to create a 3D effect that couldn’t be achieved with pastel or pastel pencil alone.


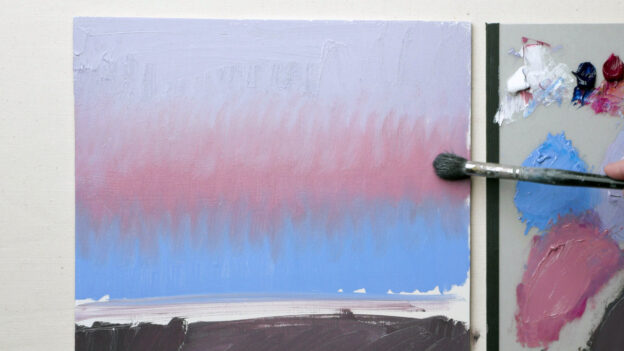
Tool #7: Textured Brayer
Another cake-decorating tool that you can find at most craft stores is a frosting brayer, which works great for adding texture to a piece. If you coat a brayer with pastel dust and judiciously roll it on your painting, you can achieve magical effects. Just make sure to wet it with rubbing alcohol first so the pastel will adhere.

Tool #8: Smart Phone
Having our phones on hand for taking photos of a painting at various stages of development can be of immense help to the creative process. Not only can you see your progress, but if you take a piece too far, you have a road map to follow back. Just viewing your painting at thumbnail size in your phone can immediately show you if there’s something wrong with it. The simple photo-editing tools can also be useful. I often flip my image horizontally, or even upside down, to see if there’s anything I’ve missed. You can also use the adjustment tools to bring down the saturation levels. This creates an image you can use like a value study to discover where values might be off.

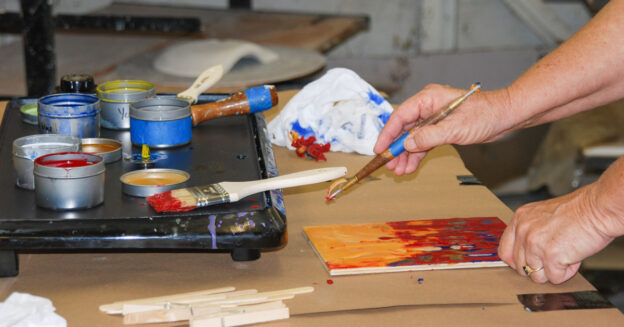
Tool #9: Paintbrushes
The tip of a paintbrush handle works perfectly when you need to do some tight maneuvering in a piece. It also comes in handy for scratching off paint after you think you’ve made the perfect mark—only to realize it’s way off.

Tool #10: Sofft® Sponge
Though not an everyday tool for most of us, Sofft® Sponges, which can be purchased individually or as part of a PanPastel® kit, are not only strong enough to withstand sanded paper, but they can also create wonderful edges. (A makeup sponge can be used to achieve similar effects.)

Tool #11: Color Shaper
When I first began working in pastel, after having worked in watercolor for such a long time, I felt really clumsy. Watercolor allowed me to see where my paintbrush was going to land and make its mark. With pastel’s big chunky blocks, I often have difficulty determining the point at which my color will strike. Rubber-tipped color shapers help me adjust an errant color or soften a passage by moving the pigment.

Expanding your set of tools is a fun way to explore new possibilities and, by doing so, continue to push the limits of your creativity. Next time you’re in the studio, try playing with some of these tools and techniques to broaden the possibilities of pastel.
About the Artist
Laura Pollak is a Signature Member of the Pastel Society of America and has Master Circle status in the International Association of Pastel Societies. She’s represented by VEFA Gallery, in Calif., The Art Shop, in N.C., and Studio Gallery South, in Naples, Fla. This is just one of the helpful articles you’ll find in the Summer 2023 issue of Pastel Journal.
Enjoying this article? Sign up for our newsletter!
From Our Shop


Join the Conversation!