Creativity Workshop: Paint With Abandon


In the August 2012 issue of Watercolor Artist, Don Tiller invites you to try a new acrylic painting technique for layering and glazing that can transform your experience of value and color in just a few simple steps. For newcomers to the medium and old pros alike, it’s an excellent acrylic painting lesson. Read a free excerpt of the article below:
I’ve been experimenting on and off with acrylics since I was first introduced to the medium back in the 1960s, and I’ve always struggled to find a hassle-free way of working with them that might also invigorate my painting process. After years of frustrating attempts to find a technique that I could feel comfortable with and also get excited about, I discovered fluid acrylics and started painting with a newfound abandon.
Fluid acrylics are as portable as watercolor, less toxic than oils, they dry fast, clean up nicely with soap and water and adhere vibrantly to almost any surface. My layering and glazing technique brings vivid, luminous color to my shapes in just a few simple steps. In short, it makes building vibrant paintings a fun and straightforward prospect—whether painting indoors or out.
If you currently work with acrylics, you may find this process makes an interesting addition to your own art-making practice. Use any surface—watercolor paper, board, panel or canvas—to obtain bright dimensional colors.
Step-by-Step Acrylic Painting Technique

Step 1: I start with a colored, usually dark, gessoed paper, panel or canvas and draw in my shapes with chalk. Whether plein air painting or working in the studio, I spend plenty of time at this stage arranging my shapes— usually 12 or less—into a salient composition.

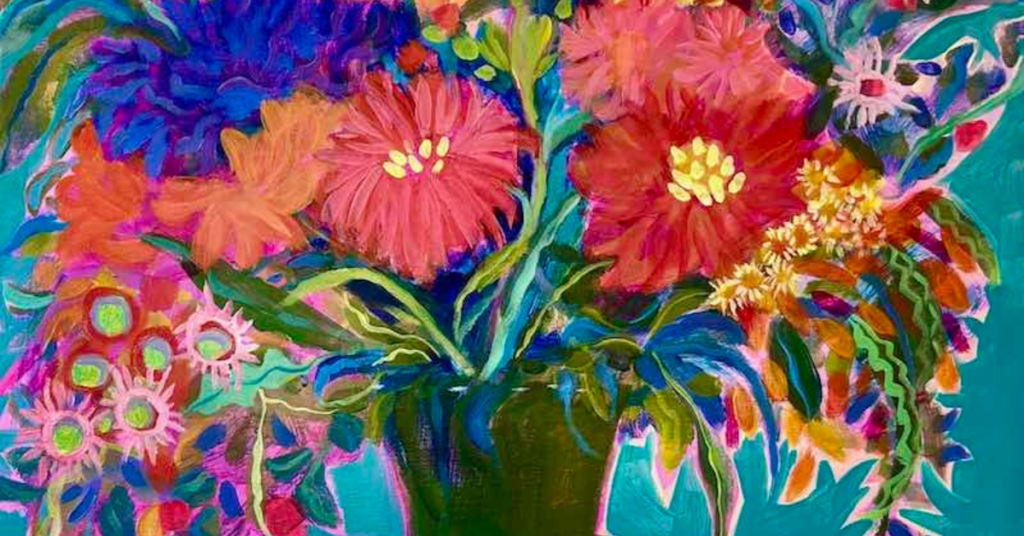
Step 2: I then block in the colors that will serve as an underpainting for the glazes that will be layered on top. I use hot pinks, blues and ochres to paint in the shapes, but leave a good amount of background color showing around the lines.

Step 3: Then I mix the glazes using colors such as yellow iron oxide, Indian yellow hue and red iron oxide. Almost any color can be used as a glaze by adding water or glazing medium to get the right transparency. As I layer these glazes over the underlying colors, they begin to trans-form into deep, rich new shades that unify the shapes.
Step 4: I continue to build layers, letting specific areas show through and working toward the center of the shape with each new layer. This process defines the shape nicely, as I can use the glazes to soften lines where necessary. I need to add only a few select details to finish it off.
TRY THIS AT HOME
Layer and glaze to create bold color in your watermedia paintings. Send a JPEG (with a resolution of 72 dpi) of your painting to [email protected] with “Creativity Workshop” in the subject line and tell us about your process. The “editor’s choice” will receive the newly released title from North Light Books, Splash 13: Alternative Approaches. The deadline for entry is August 6, 2012.
To catch up on the Creativity Workshop exercises you’ve missed, visit our online hub and start painting. Inspired to keep learning? Watch free samples of acrylic art videos online. If you love Tiller’s acrylic landscapes, be sure to check out our online interview with the artist.
Bonus! Learn more about how to use acrylic paint here!
MORE RESOURCES FOR WATERCOLOR ARTISTS
• Watch watercolor art workshops on demand at ArtistsNetwork.TV
• Get unlimited access to over 100 art instruction ebooks
• Online seminars for fine artists
• Find watercolor painting downloads, books, videos & more


Have a technical question?
Contact UsJoin the Conversation!